

Anyway, baby blanket! Yes, let's make a baby blanket! Welcome to Sewing 101: How to Stitch a Straight Line.
First, got buy your fabric (for a baby blanket, one yard of each fabric is plenty). I recommend 100% cotton, unless you are using a Minky on one side. Typically, I use Minky Dot for one side of the baby blanket. In this example, I used Minky Marshmellow (this is my first time using it, and it was a lot easier to work with than the Minky Dot. Both have their troubles and slips; if you've never made a blanket before, I would suggest you try a flannel for one side before trying to work with Minky. Minky is likely to make you want to curse, cry or consume alcohol. If you are anything like me, it will make you do all three). Also purchase 100% cotton thread for your machine (and yes, wind a bobbin with the same thread).
Wash and dry all your material. Iron your 100% cotton materials. (In the past, I have always prewashed my Minky. In this sample, I did not. Minky will not shrink, but the Minky Dot curls over itself on the raw edges when dried, and it makes it difficult to pin in place and sew a perfect straight line. I put the Minky Marshmellow in the dryer on air fluff for half an hour to get all the shedding off, it worked wonderfully).
First, lay down your thicker fabric face up (I used the laundry room floor)...

Next, lay your top fabric on top, face down...

Roughly trim. Next, pin the fabric in place around the perimeter...

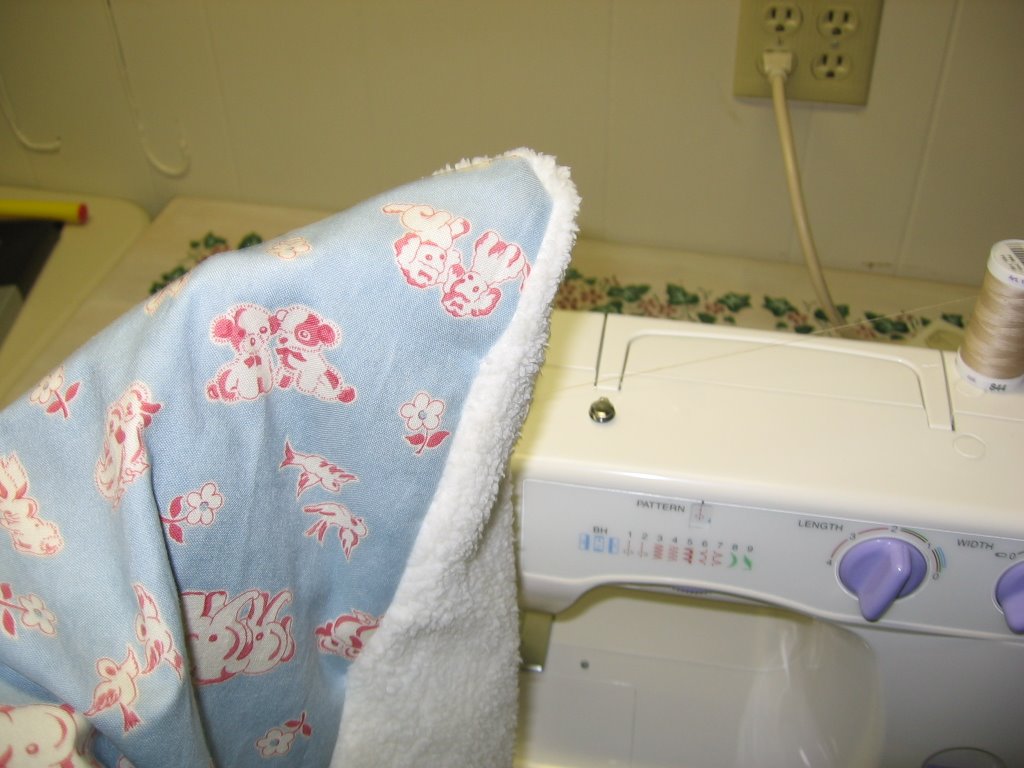
Gingerly pick up your fabric, and on the center of one side begin to sew...

Sew around the fabric; on the corners, leave the needle in, lift the machine's foot and rotate the fabric 90 degrees. Put the foot back down and continue to sew. Sew all around, leaving an opening of 15 - 18 inches on the side where you began.
Next, turn blanket inside out, push out the corners and check stitching...
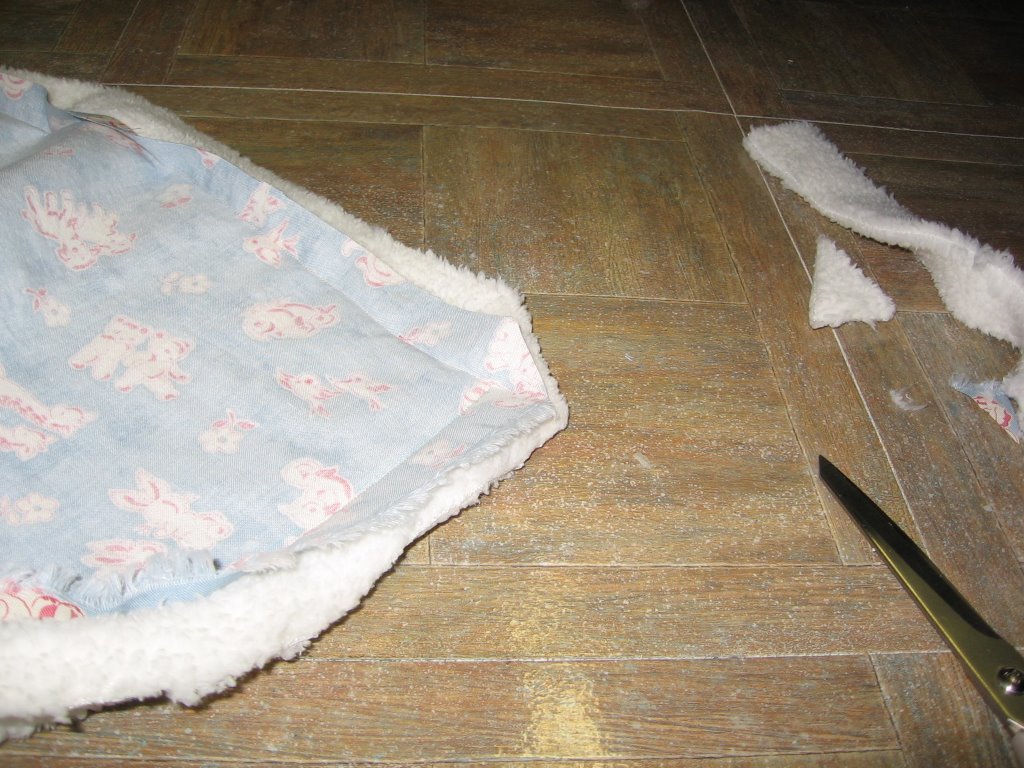
Once you see how your blanket will look, turn it back right side in and trim excess materials...

Cut the corners at a 45 degree angle to cut down on the bulk...
 Put in the dryer on air fluff and let it run for about half an hour (this does two things: it gets all the stray pieces of fluffies and thread off and it also gives you the confidence in your stitching; if any stitching comes loose, you can resew the blanket).
Remove from the dryer. Turn fabric back to right side out.
Pin the opening closed. Stitch at the beginning of the opening and continue stitching all around blanket for a "finished edge"...

Voila! Your blanket it complete! Wash and dry again before use or gift giving.

If you're a nerd like me, you can make a little information card for the blanket. I just typed what I wanted on one page, trimmed it down, cut a piece of cardstock slightly larger and glued information on each side (one side is who it is for, who it is from, who made it and the date; the other side is all the material information and care instructions).

This has been brought to you by the letter W, T and F. And by the Quick Crafts for Sanity Group, because keeping mommies off of Valium is our utmost importance.
Our next class will be Sewing 102: How to Make a Damn Easy Pillowcase.
15 comments:
i'm going to try minky, although you got me scared. she sounds very high maintenance :(
Great tutorial! It almost emboldened me enough to bring the sewing machine up out of The Scary Room and try it. But I think I will probably need remedial lessons. I nearly assasinated myself trying to sew the GD patches onto my son's Cub Scout shirt...
Kristi: I thought those patches were iron on...
Tasha: you're an expert, I'm sure you can tame the wild beast!
Sister,
I'm glad I have you here to make me laugh!! It's got to warm up soon so we can go hang out at the park.
The blue fabric is so cute. Looks like a cozy little blankie.
Thanks for the tut! Very sweet blanket. You're not a loser for posting on a Friday night. I'm a loser for checking blogs at 6 o'clock on Sat. morning!
Ah, yes, the patches were theoretically iron-on, but did not stay on the shirt when I washed it. One of the bigger ones, in particular, wouldn't stay on. I took some stitches around the edge to keep it from popping off, but it wasn't pretty. I'm still swearing.
Awesome tut. Can't wait for the Damn Easy Pillowcase one. That will impress my children, heh.
Yahoo Capello! Nice tutorial. Brought to you by the letters W,T,& F! Uh hum. 8-)
I'm gonna make a blanket soon, very soon.
I love the blue material. What a cute pattern.
I am the master loser nerd. Let's not forget that. he he he
Thanks, I actually didn't know any of that stuff, so yeah! My question is how do you tie off the tread? Do you just cut it? Or do you do some kind of secret magic trick to keep it from unraveling?
Marsha: on my sewing machine, you press a little button that does a backstitch to "lock" the thread. I always do it when I start and end my sewing line.
Okay once I stop laughing I WILL do this as my next project for my pregnant SIL. Thanks for the tutorial.
Oooogh, White Snake? Thanks for the tut-- yet another distraction for me. Heh heh. I didn't know any of that cool topstitching stuff. Hmm.
Ok. It's time for me to confess. Two years ago I went on a sewing craze.. HAD to have a sewing machine "right now".. I was gonna quilt everything I got my fingers on, so hubby and I set off and bought one... Now I did watch the video and I think I'm kind of ok in the brains department, but the sewing machine has not been used...
because..
I can not figure out how to thread the DAMN bobbin!
There - I'm out and I'm proud!!
Hey - Got to your blog through artsy-craftsy babe. I'm not artsy at all and I can't craft worth a damn, but I love admiring the work of others. I love the fabric that you chose for this blanket. Really, really cute!
Post a Comment