

Welcome to Sewing 102: How to Make a Damn Easy Pillowcase.
I came up with the concept after Darwin's eye accident. First, buying pillowcases at the barn are out of the budget and we didn't want any zippers where people would be laying their faces on. Necessity is the mother of invention.
Also, I wanted to be able to wash the pillow cases and the pillows (kids have nasty body functions), and I didn't want to store entire pillows -- just small slips of material (I have enough shit in my house as it is, thankyouverymuch).
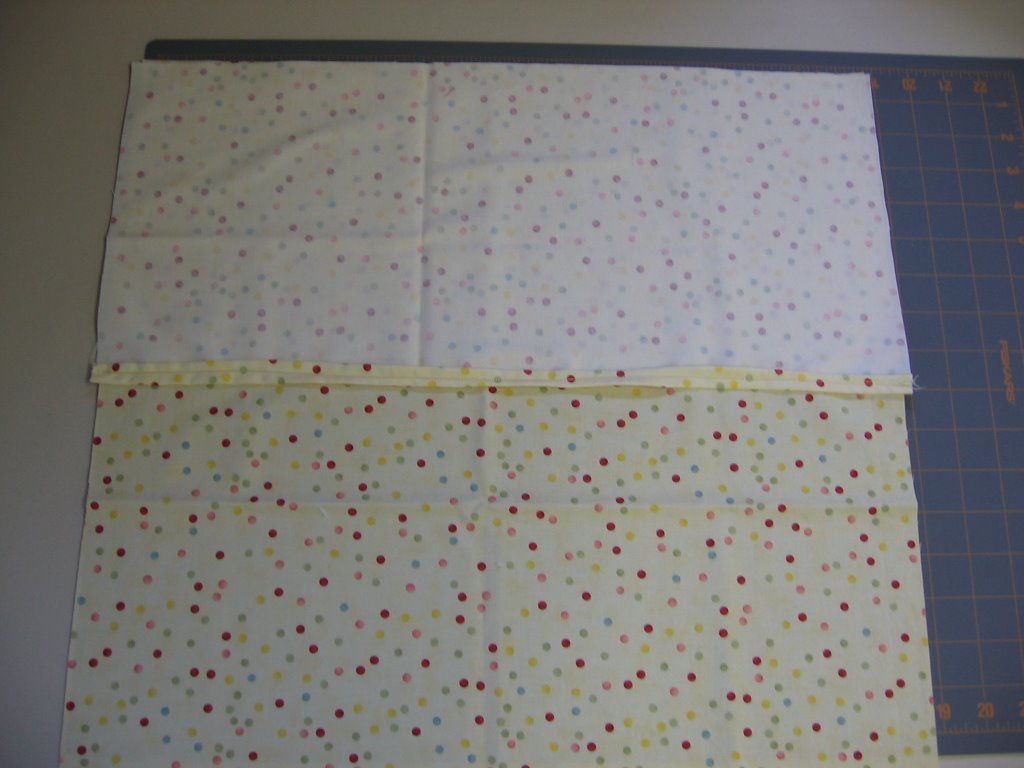
First, decide what size of pillow you will be covering. I'm going with a 20-inch square pillow for my living room. Next, choose your fabric and wash, dry and iron it all (duh).
Cut your fabric.
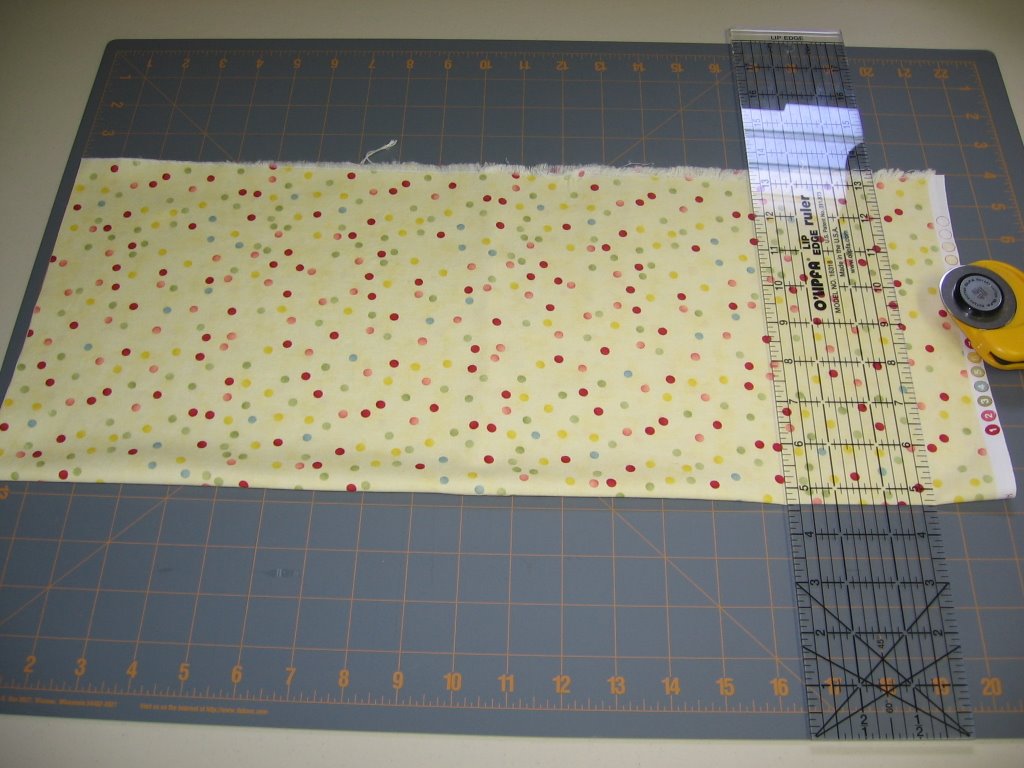
For a 20" pillow, I cut once piece 19.5 inches square (I like the pillow case to not be slouchy).
Cut a second piece 19.5 x 17 and a third piece 19.5 x 11 (17 and 11 being approximate. This isn't baking). I use about a 3/8" seam allowance.
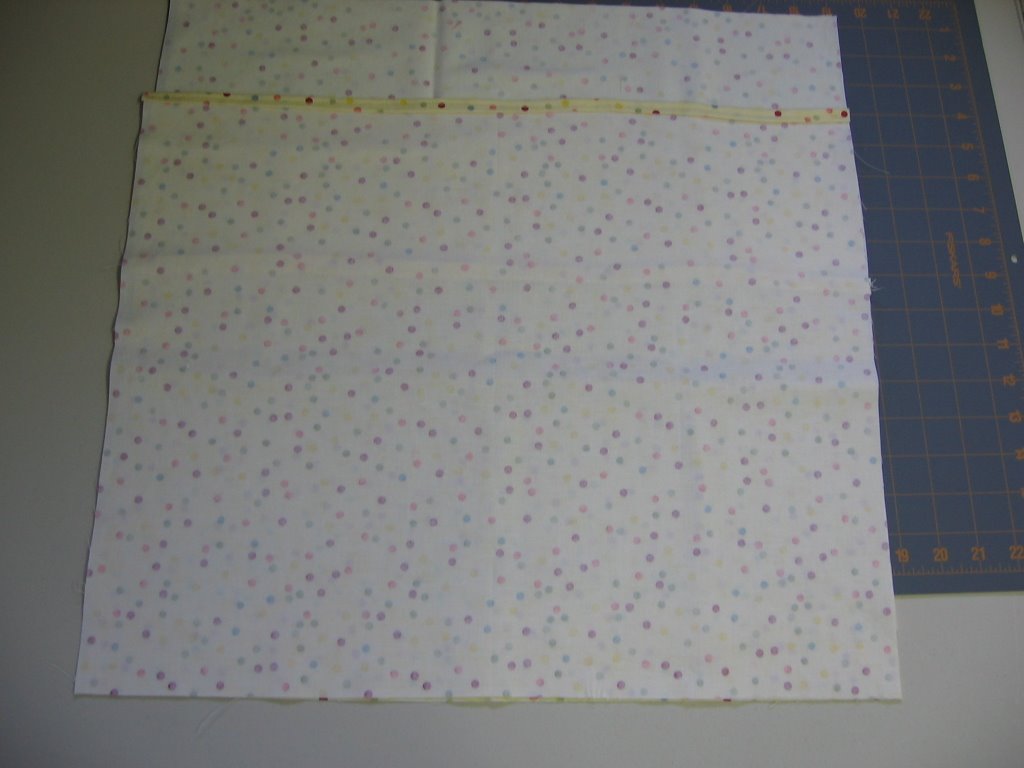
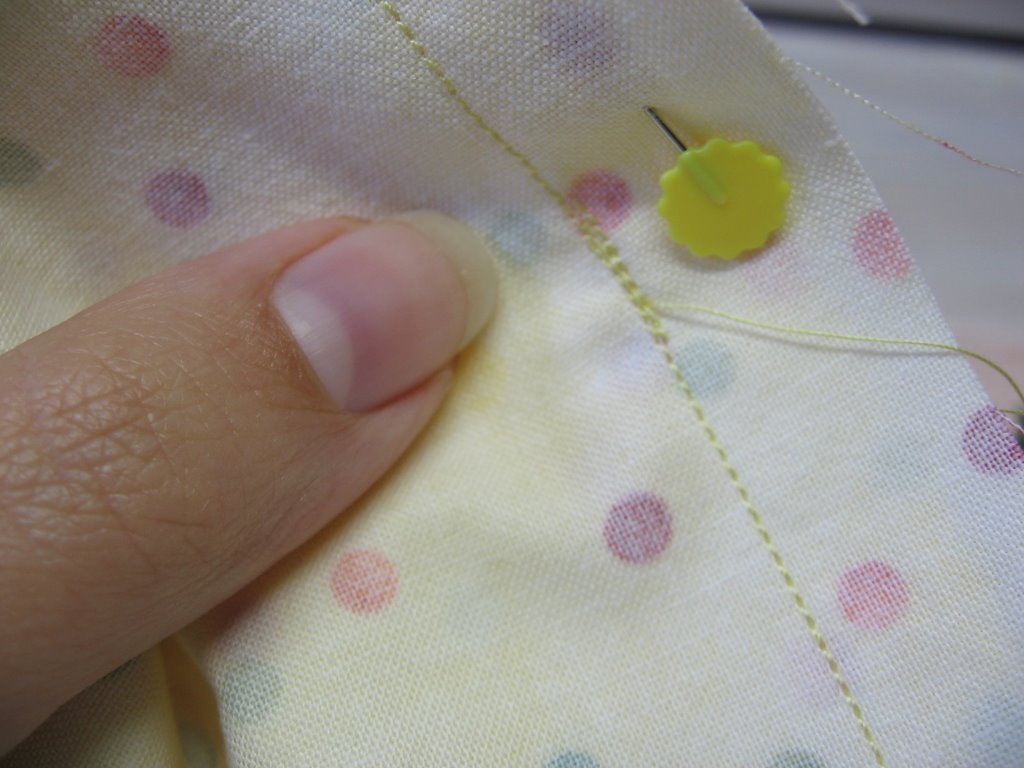
Next, on one of shorter pieces, fold up and pin one side of the 19.5" side...
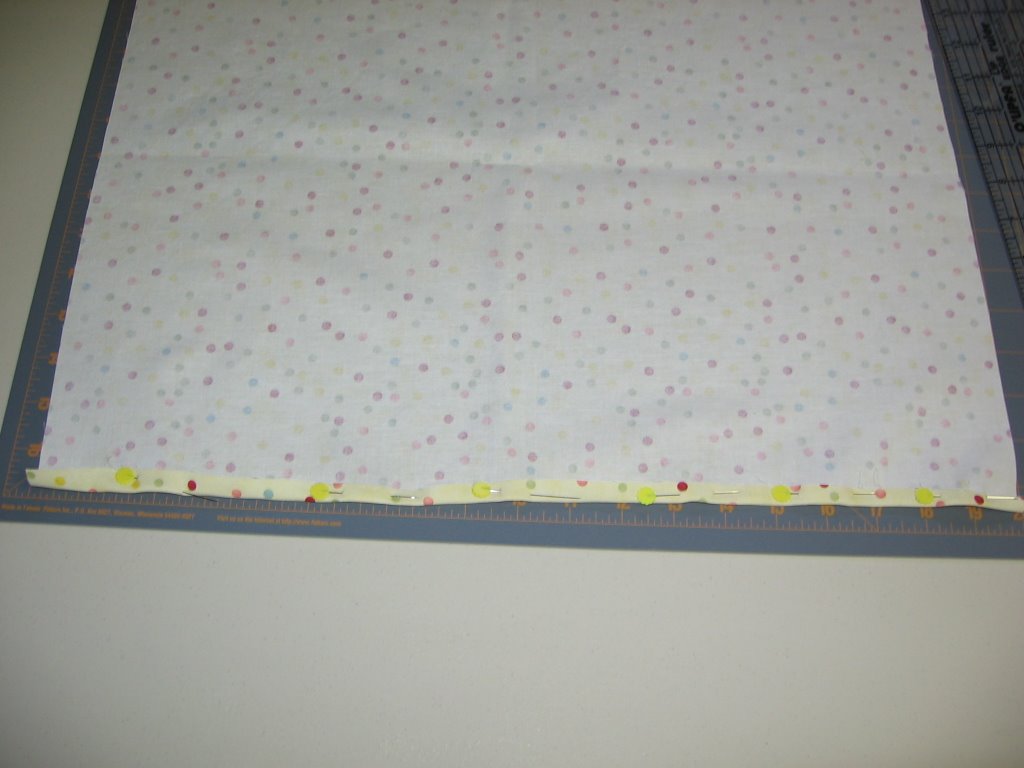
Yes! Just like that!
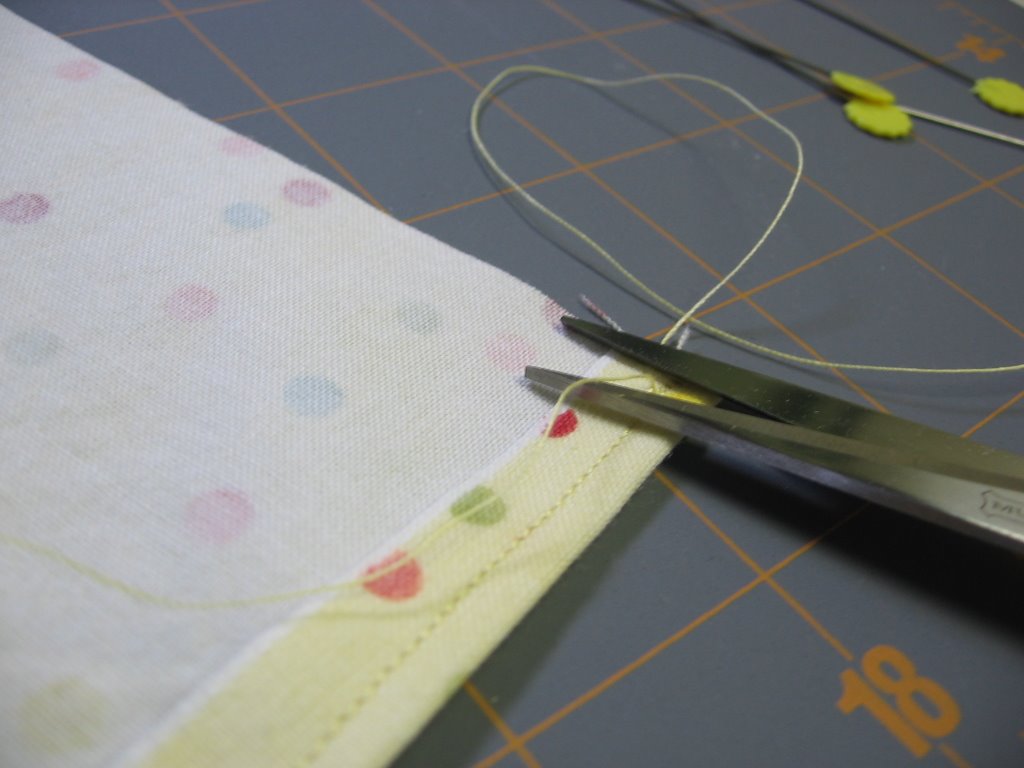
And sew it. Trim off the excess thread.
Now, fold it up again and pin it.

Great job! Now sew it again!
Next, trim the thread again!
Fabulous!
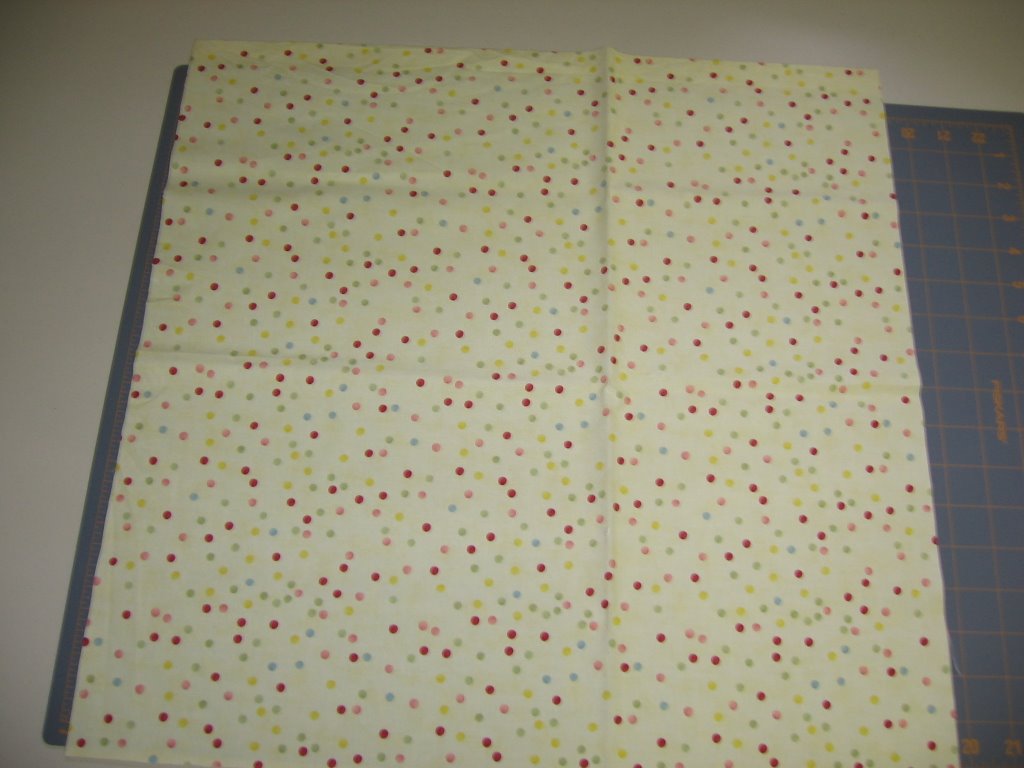
Repeat for the other shorter piece of fabric.
Next, lay your 19.5" square piece, face up, on the table.
You are such a good directions follower!
Next, lay your 19.5 x 11 piece face down on top of the square piece. Make sure your seam is in the center of the material.
Awesome!
Next, lay down your 19.5 x 17 piece face down on top of your small piece, with the seam side on the center again.
Incredible!
Next, pin all four sides together (taking care to go through all the layers).
Now, you're ready to sew...
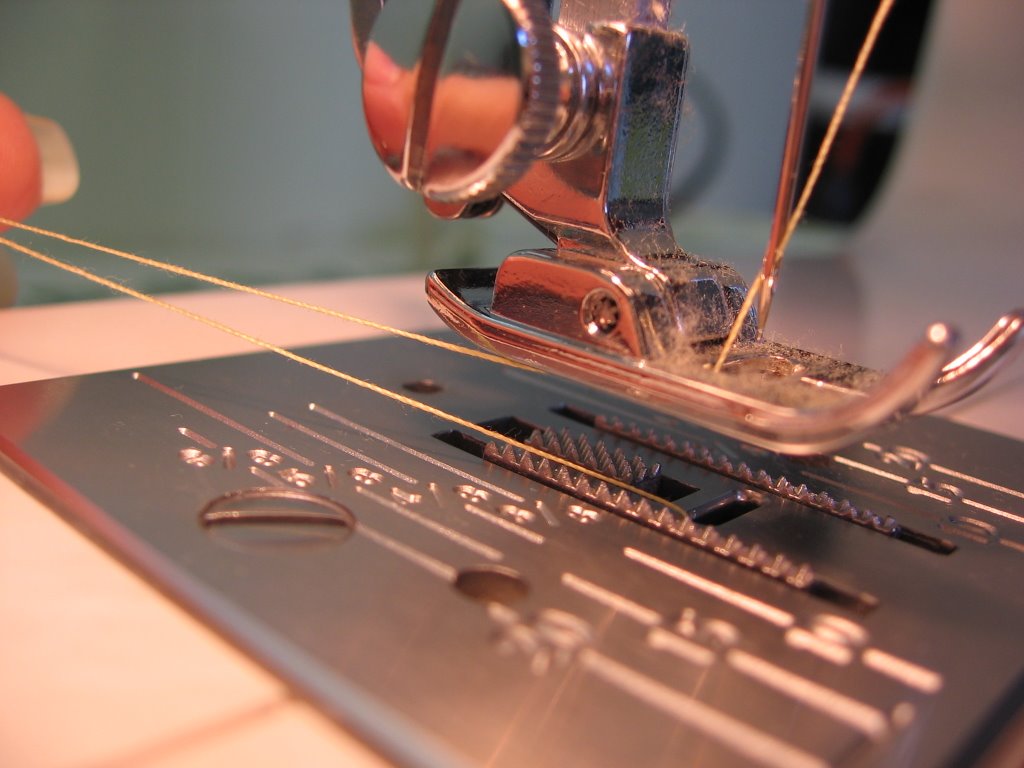
Before you start sewing, be sure to pull enough tread through the machine and pull your thread under your foot (this took me forever to figure out -- you'll get less snagging).
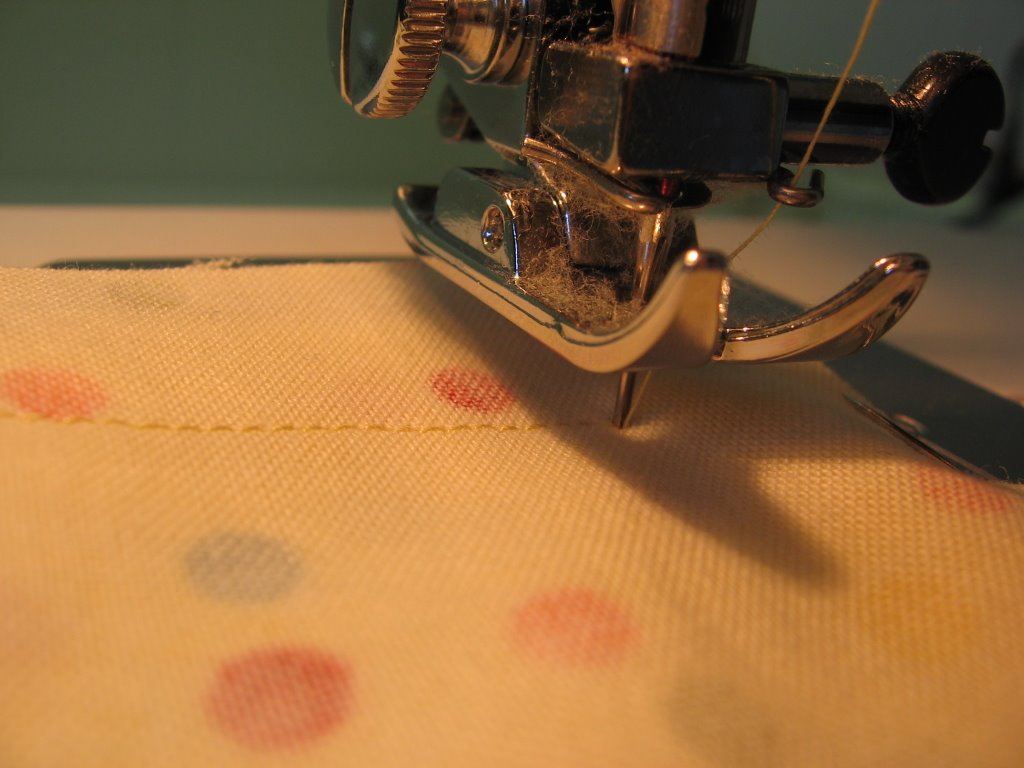
Start sewing in the middle of one side (in an inconspicuous location). When you get to a corner, leave your needle in, pick up the foot and rotate the material 90 degrees.
Great job!
Finish sewing all the way around, and locking the thread where it meets your beginning thread.
Superb!
Next, fold your material right-side out and push out the corners with your fingers.
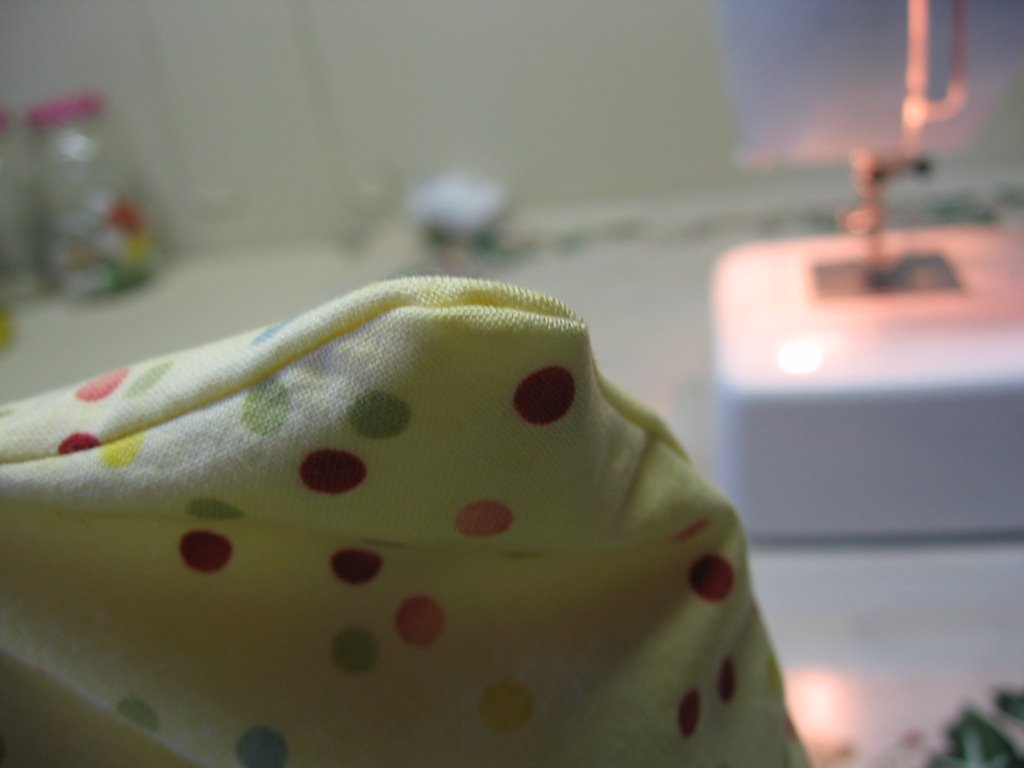
Excellent!
Now you're ready to put your pillow in...
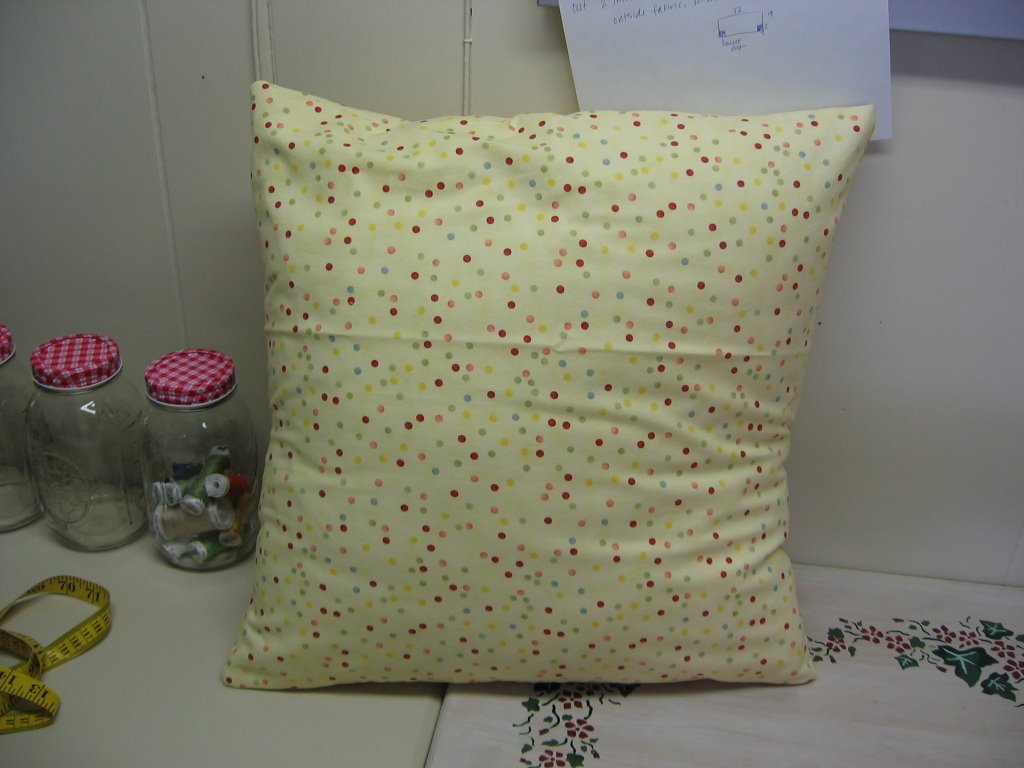
Front view and...

... back view.
In previous pillows, I have put a strip of velcro on the back, but not this time. If you need instructions or a picture, let me know (I'm being lazy and cheap with this set of pillows).
Now, go have fun making pillows for your home!
 Done!
Done!My next tutorial will be discussing How to Patch Home Problems, Cheap-Ass Style.
15 comments:
THAT IS GREAT! THIS HAS to get you some comments. I love the pillow in the middle. So pretty. I gotta bookmark this for future use. I guess I need some pillow forms too. hmm.
Thanks for the tut.
I am not going to sew a pillow, but I sure had fun reading your directions ... maybe I will save this for a summer project...hmmmmmmm
You make me laugh !
You are such an encourager on every step. Great job on the tutorial! Nice pictures, too. That close up of the presser foot would make some nice sewing room art. I LOVE that fabric, btw, and look at all three of those pillows from the same line of fabric - they look great together!
DO tell, how long would it take for someone like myself make one pillow dearest?
(hey look, i'm giving you another comment...woohoo...just pretend it is from someone else.)
I would say that, not including washing and ironing, one pillow case should take about an hour for the first-time you make one, if you've done some sewing projects already (which you have, Angela).
For the first time ever sewing, probably about two to three hours.
And that's being VERY GENEROUS. I think my husband could even do it in that amount of time (and he takes FOREVER to do anything).
Quite beautiful!
Oh please - you make it look SO easy. the sad sad truth is...I SUCK at sewing. Really really bad.
Can I just pay you? LOL.
Dear Capello.... You know I love you like a sistah. But I kinda was more comfortable when you did step-by-step tutorials on making that one alcoholic beverage. Sewing's not my bag, baby..... Don't get me wrong, the pillows are Booty-Licious!!! But I just HATE JoAnn Fabrics and anything having to do with it. (Bad Bad Childhood Experiences.)
Thanks so much. You know with readers like me you need all those details. I can't wait to dust off my sewing machine and give it a try.
Your tutorial is fantastic -- your personality (well, your blog personality anyway) really comes through.
I need a beer after reading that previos post about the eye incident. You are a way, way, way stronger person than I am. I think I would have crumpled into nothing at all those challenges. Wow. You should be really proud of yourself.
hey, how did you know i've been sleeping with square pillows with no covers on them. eweee, i know. i like the size. i just wash the whole darn pillows. i think some pillow covers are in order.
i like the yellow dots.
First, the pillows are so cute. Very springy!
Second, the pins! I see those pins everywhere! Where did you get them?
Third, male readers?! I am so jealous.
SNAZZY! I will have to try this out after we move into our new house! (And quite watching me, you freak! I did the meme already).
Hunh, weird. Blogger wants me to remain anonymous. Don't tell it was me!
(Okay, I confess-- it's Katurah from Luckybeans. But would it have driven you crazy if I'd made you guess?)
Thanks so much for posting this. You make making pillows look easy (and I know they're not, 'cuz I've wasted plenty of fabric trying to make them before). I will have to try this out.
Post a Comment