Okay, here you go...
Welcome to Sewing 102: How to Make a Damn Easy Pillowcase.
I came up with the concept after
Darwin's eye accident. First, buying pillowcases at the barn are out of the budget
and we didn't want any zippers where people would be laying their faces on. Necessity is the mother of invention.
Also, I wanted to be able to wash the pillow cases and the pillows (kids have nasty body functions), and I didn't want to store entire pillows -- just small slips of material (I have enough shit in my house as it is, thankyouverymuch).
First, decide what size of pillow you will be covering. I'm going with a 20-inch square pillow for my living room. Next, choose your fabric and wash, dry and iron it all (duh).
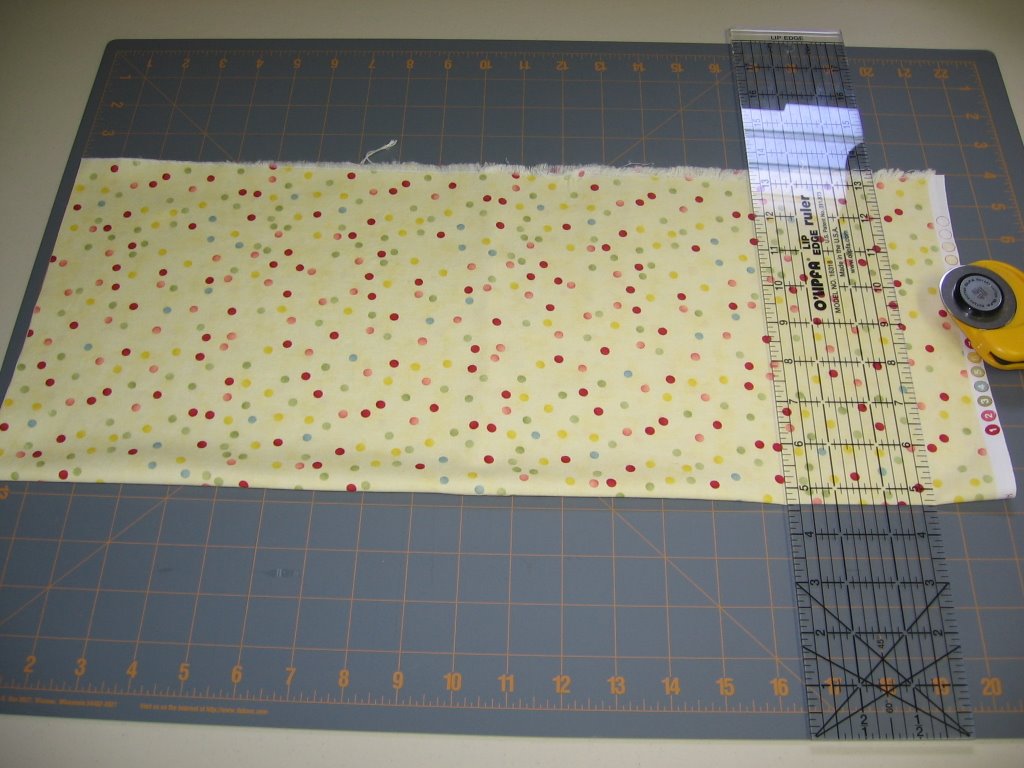
Cut your fabric.

For a 20" pillow, I cut once piece 19.5 inches square (I like the pillow case to not be slouchy).
Cut a second piece 19.5 x 17 and a third piece 19.5 x 11 (17 and 11 being approximate. This isn't baking). I use about a 3/8" seam allowance.
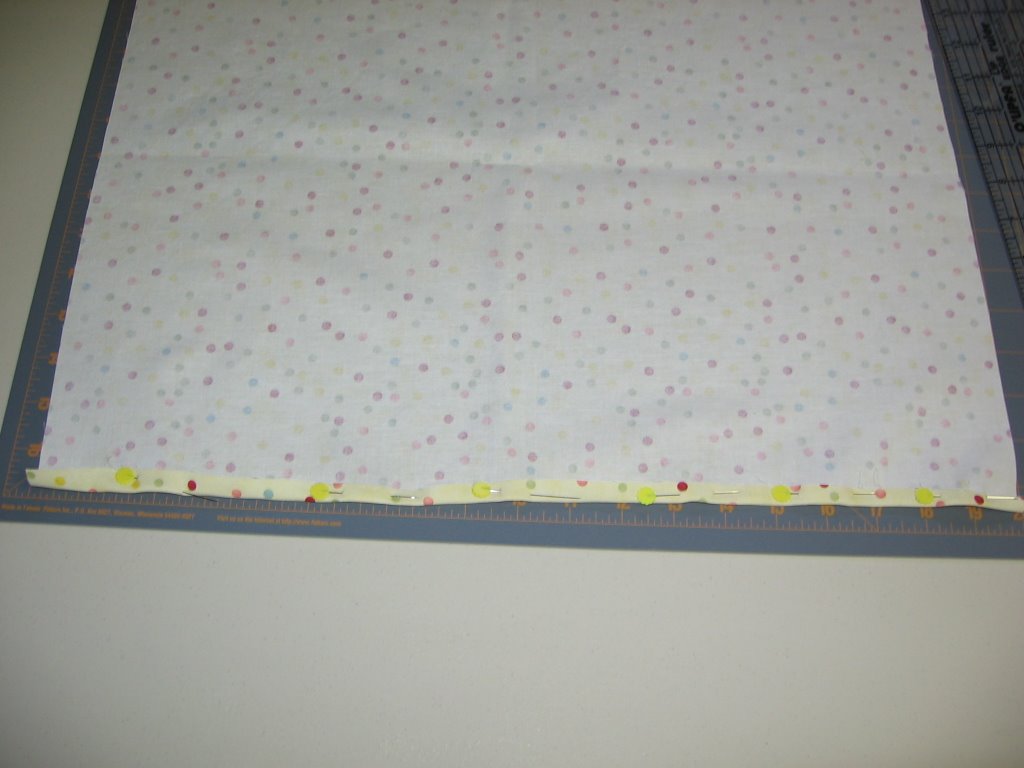
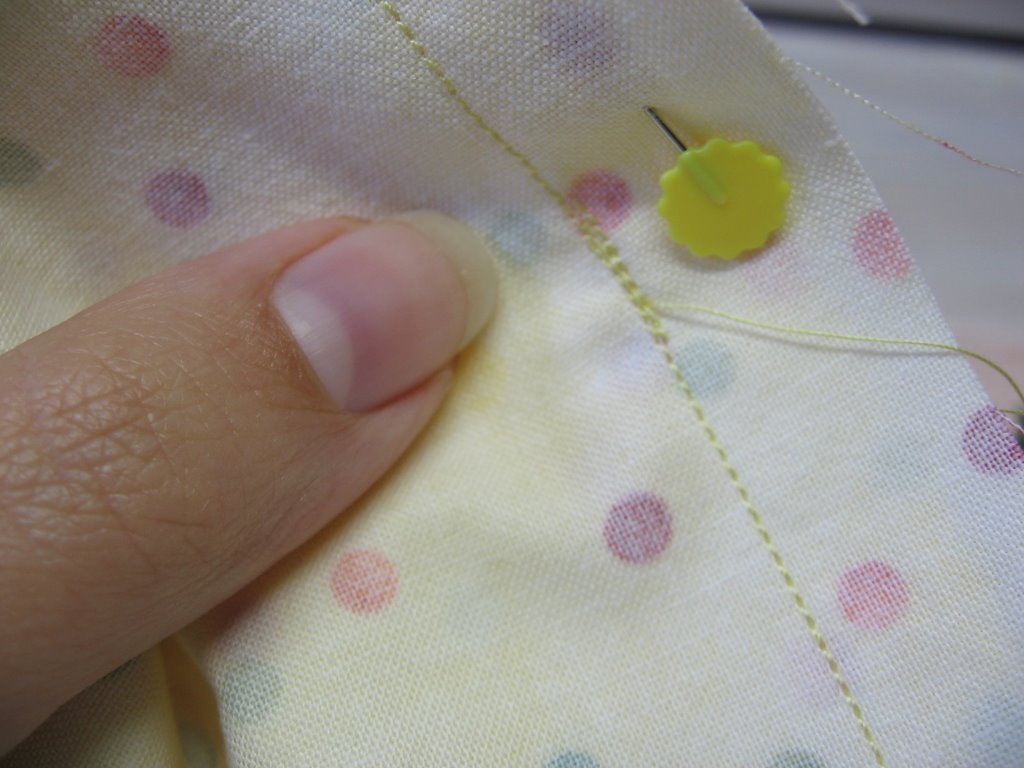
Next, on one of shorter pieces, fold up and pin one side of the 19.5" side...

Yes! Just like that!
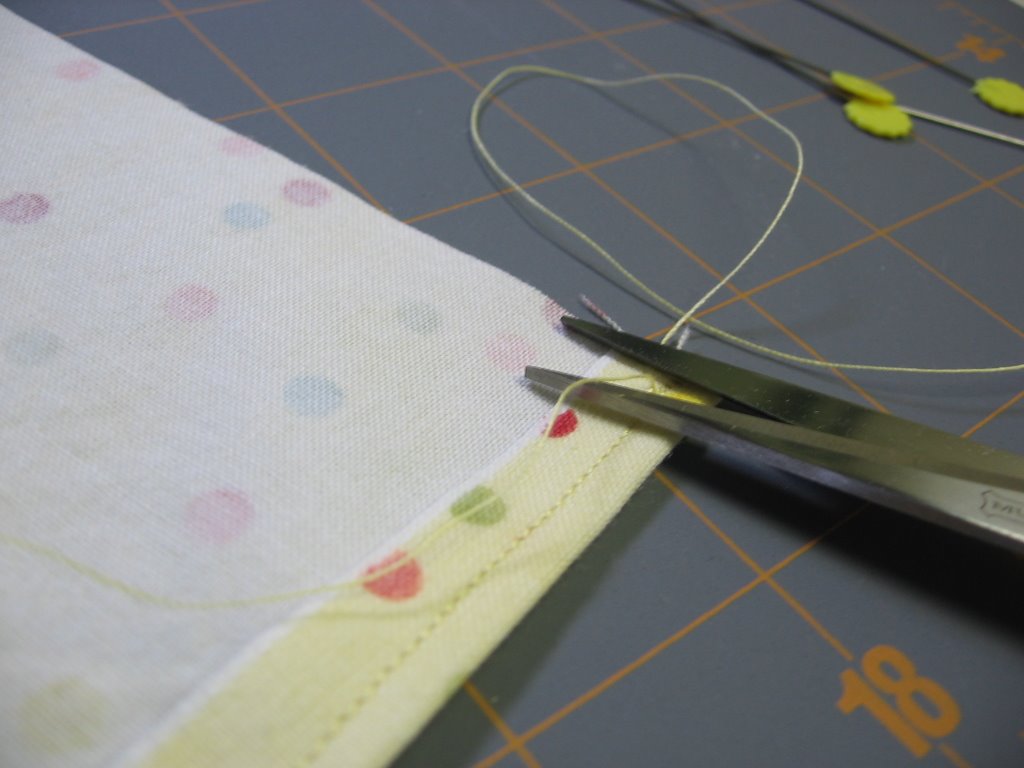
And sew it. Trim off the excess thread.
Now, fold it up again and pin it.

Great job! Now sew it again!
Next, trim the thread again!

Fabulous!
Repeat for the other shorter piece of fabric.
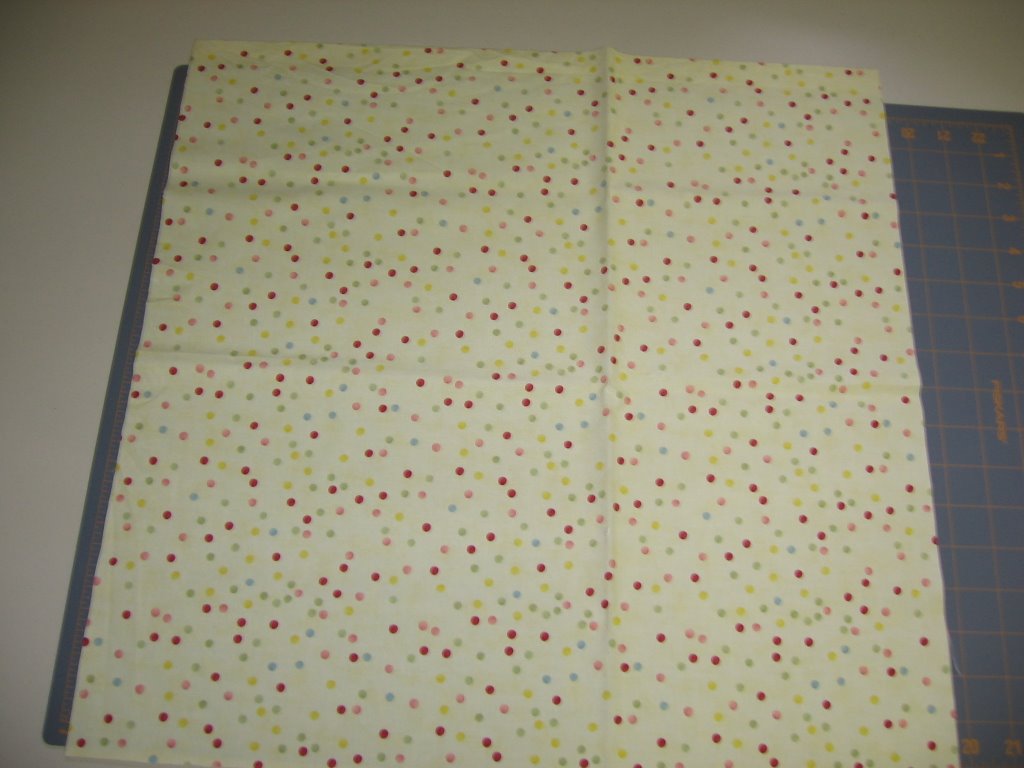
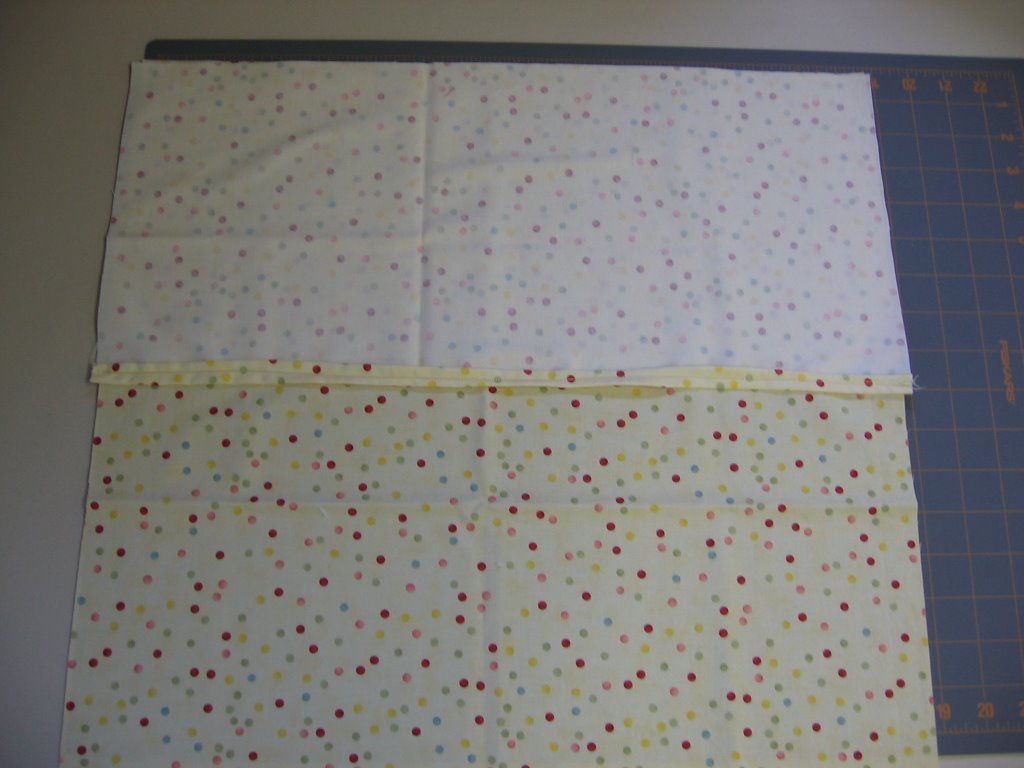
Next, lay your 19.5" square piece, face up, on the table.

You are such a good directions follower!
Next, lay your 19.5 x 11 piece face down on top of the square piece. Make sure your seam is in the center of the material.

Awesome!
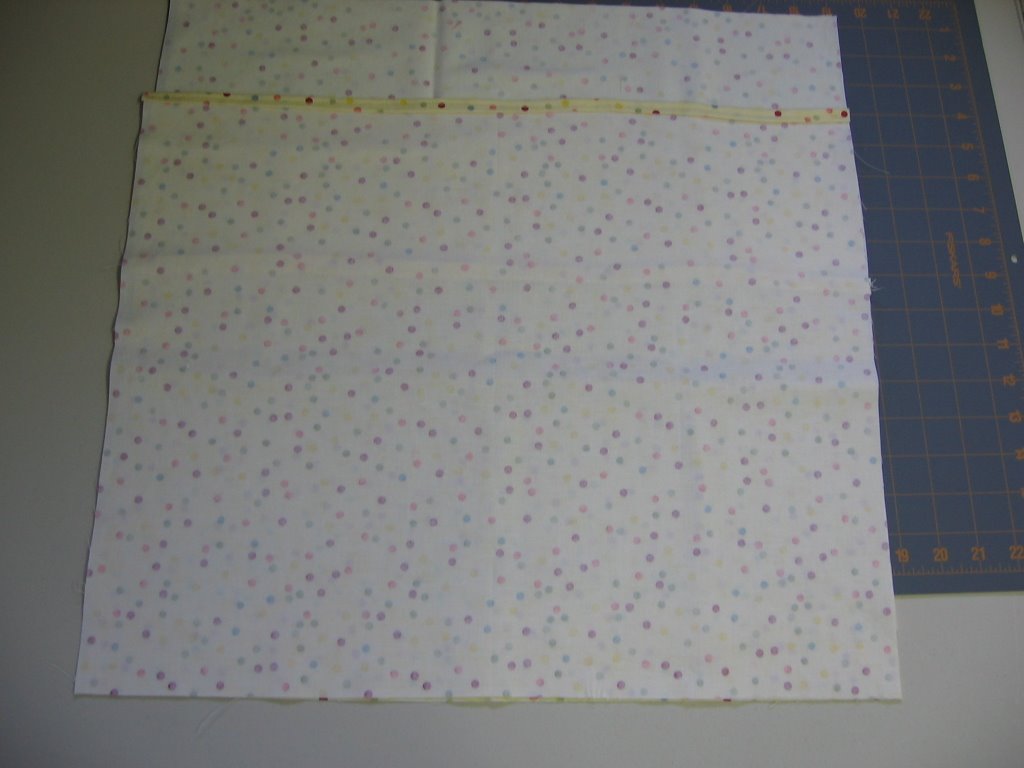
Next, lay down your 19.5 x 17 piece face down on top of your small piece, with the seam side on the center again.

Incredible!
Next, pin all four sides together (taking care to go through all the layers).
Now, you're ready to sew...

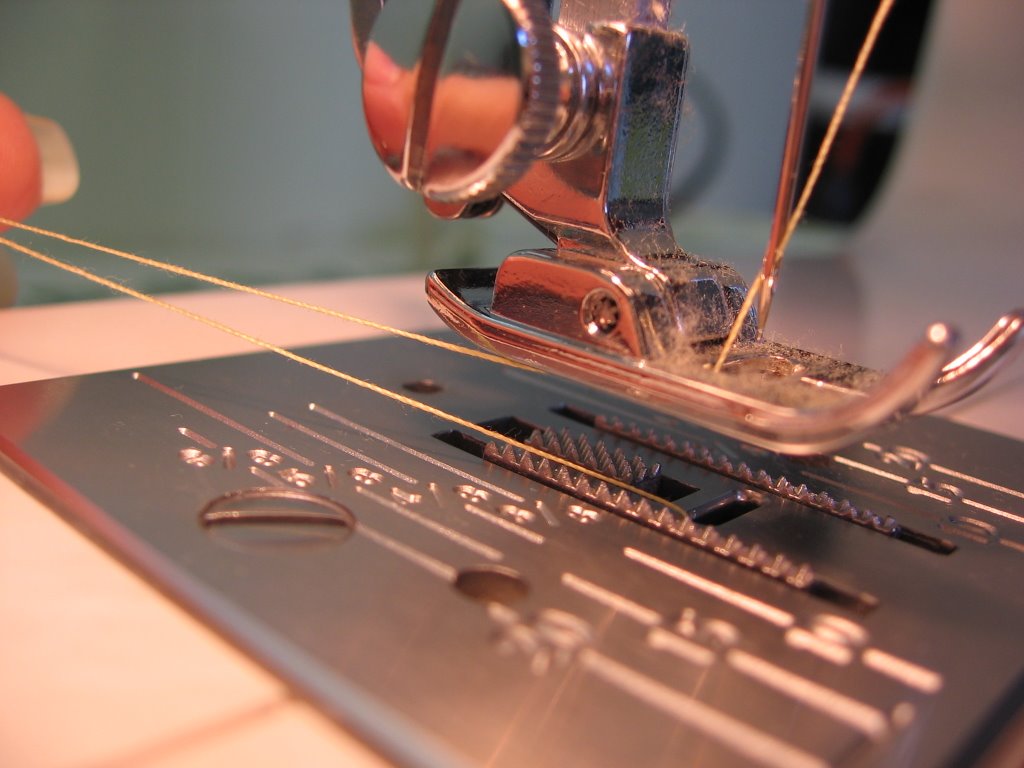
Before you start sewing, be sure to pull enough tread through the machine and pull your thread
under your foot (this took me forever to figure out -- you'll get less snagging).
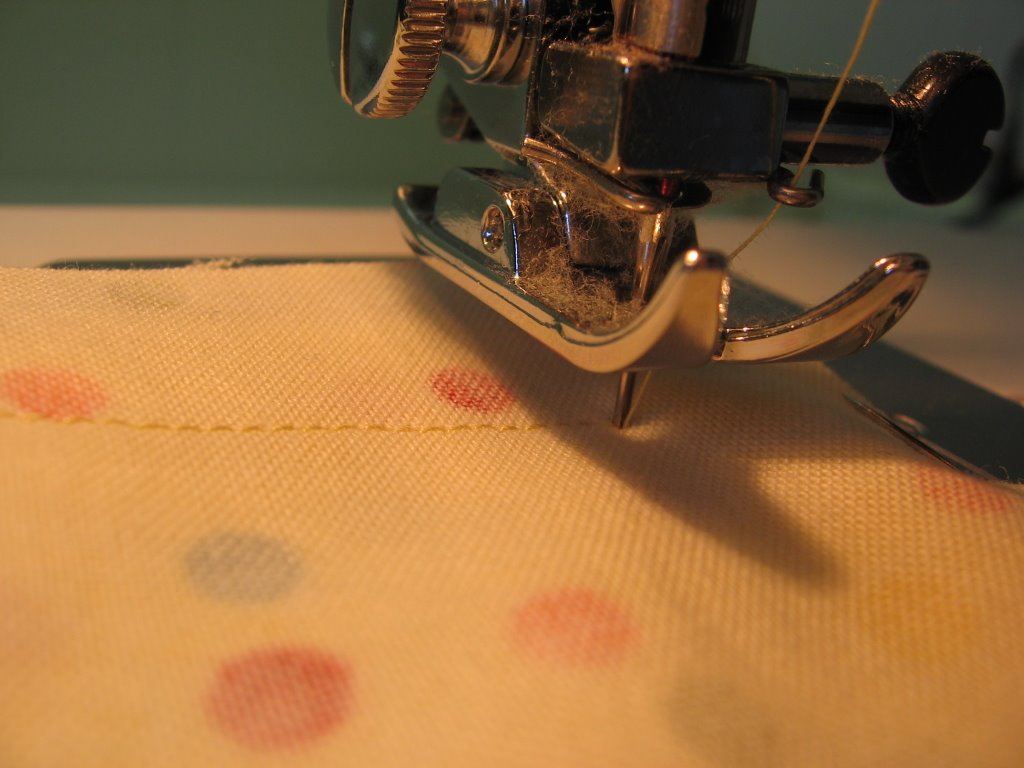
Start sewing in the middle of one side (in an inconspicuous location). When you get to a corner, leave your needle in, pick up the foot and rotate the material 90 degrees.

Great job!
Finish sewing all the way around, and locking the thread where it meets your beginning thread.

Superb!
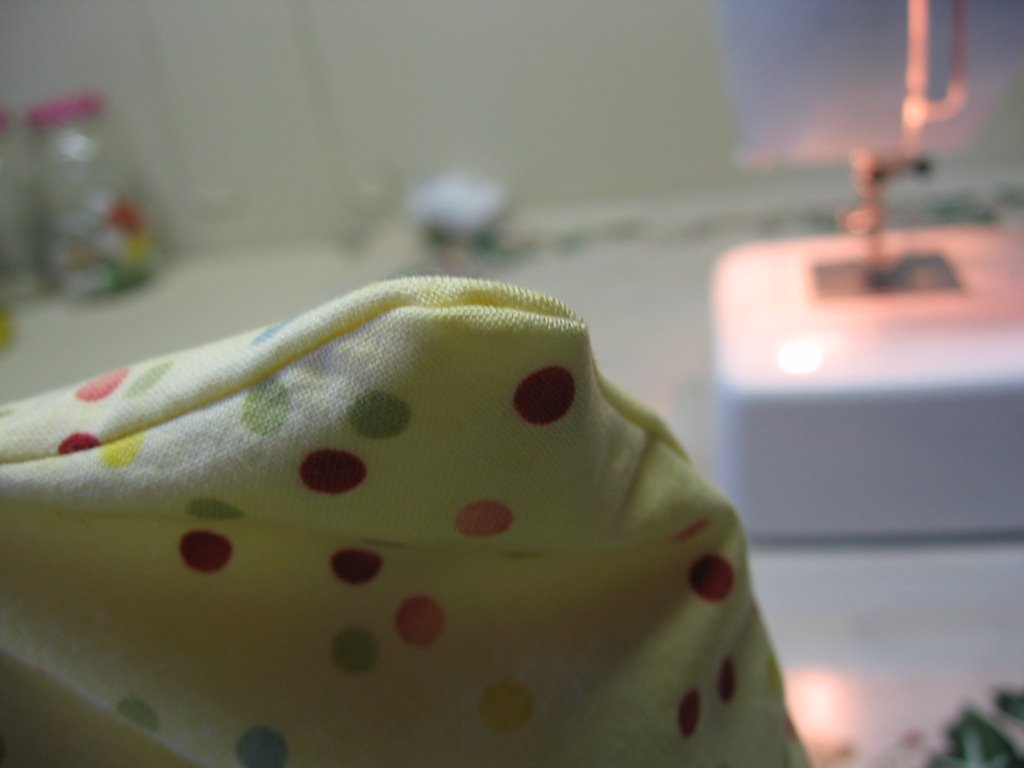
Next, fold your material right-side out and push out the corners with your fingers.

Excellent!
Now you're ready to put your pillow in...

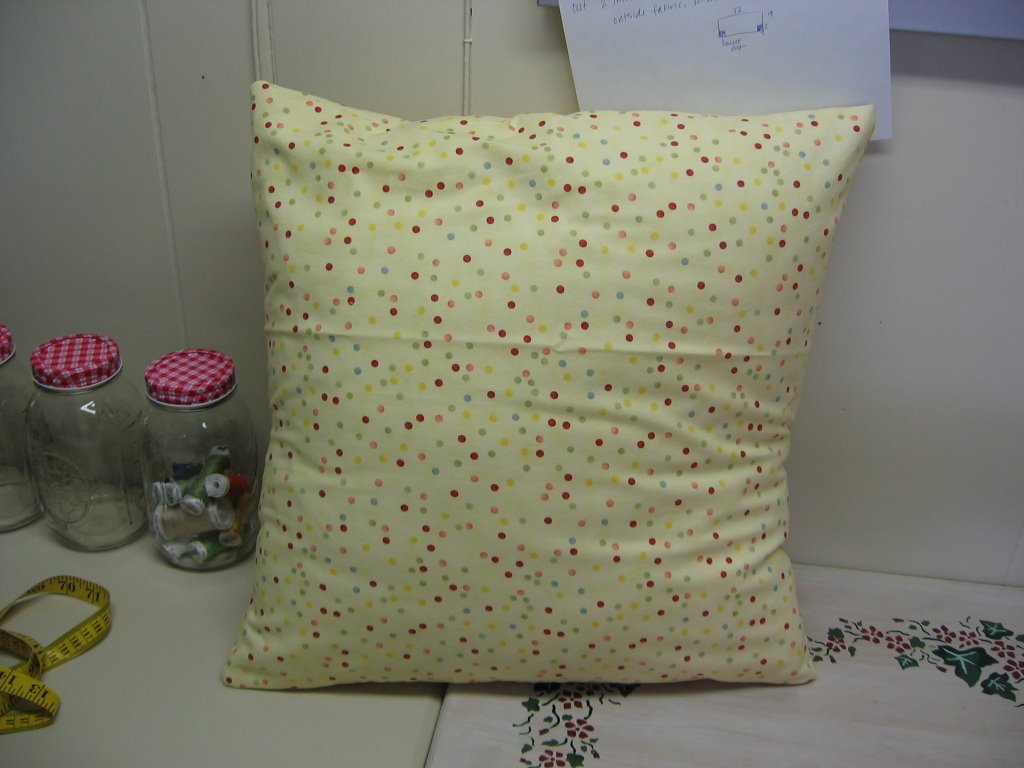
Front view and...

... back view.
In previous pillows, I have put a strip of velcro on the back, but not this time. If you need instructions or a picture, let me know (I'm being lazy and cheap with this set of pillows).
Now, go have fun making pillows for your home!

Done!
My next tutorial will be discussing
How to Patch Home Problems, Cheap-Ass Style.


 1. Going to the Farmers' Market on the weekends.
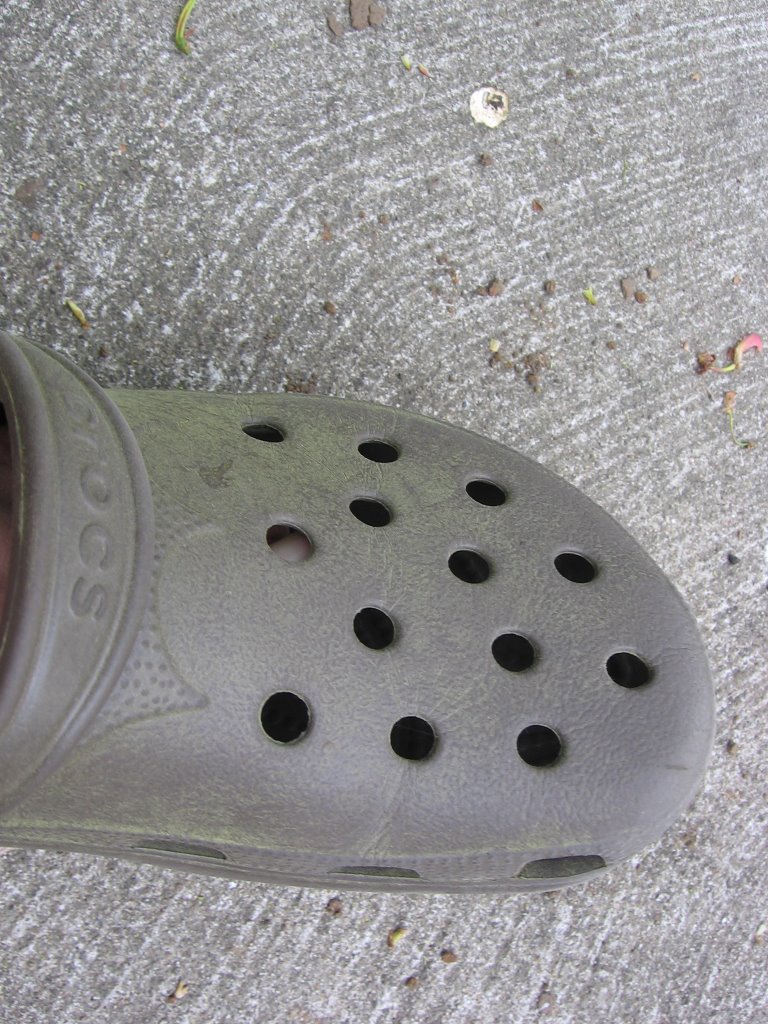 2. Evidence on my shoe that spring is here.
 3. Griffin's devil faces.
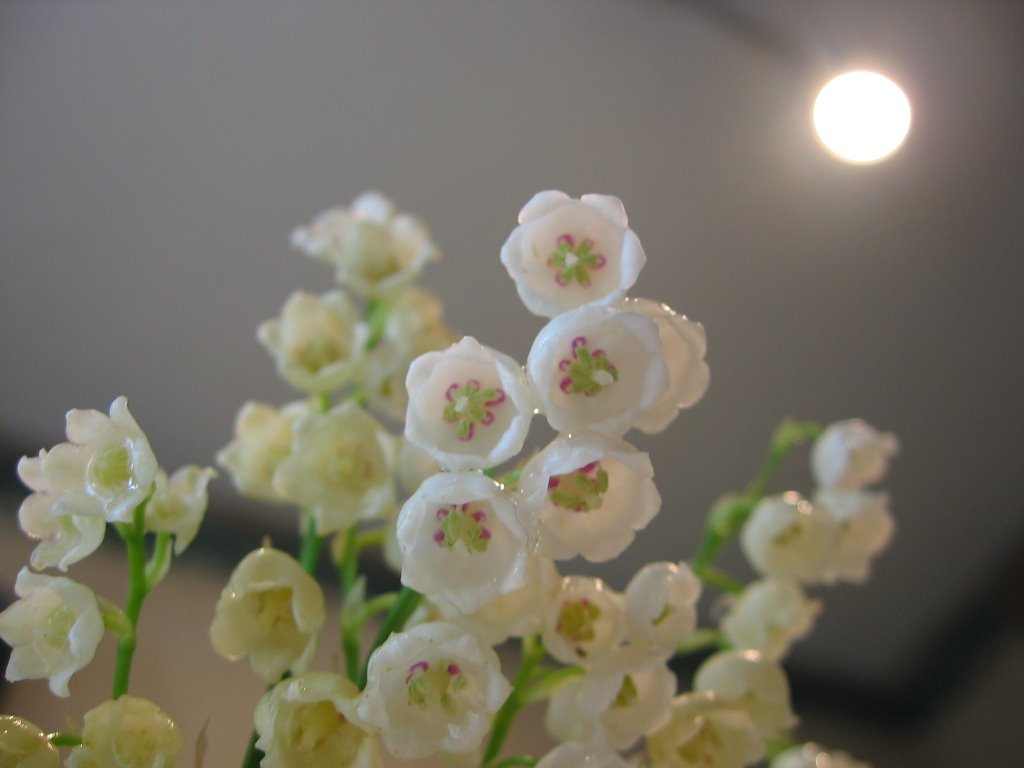 4. Blooming lilly of the valley. They smell heavenly.
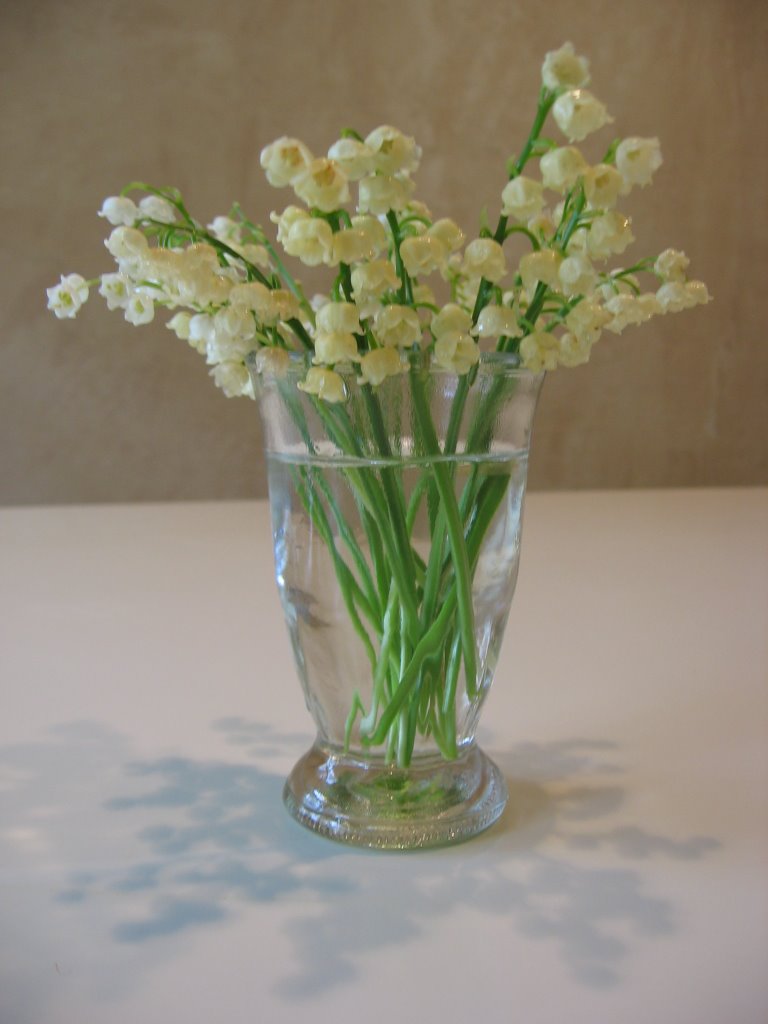 5. Lots of lilly of the valley flowers in a bud vase for my aunt (who had a mastectomy Friday and came out of the surgery fine).
 6. Smashing garlic.
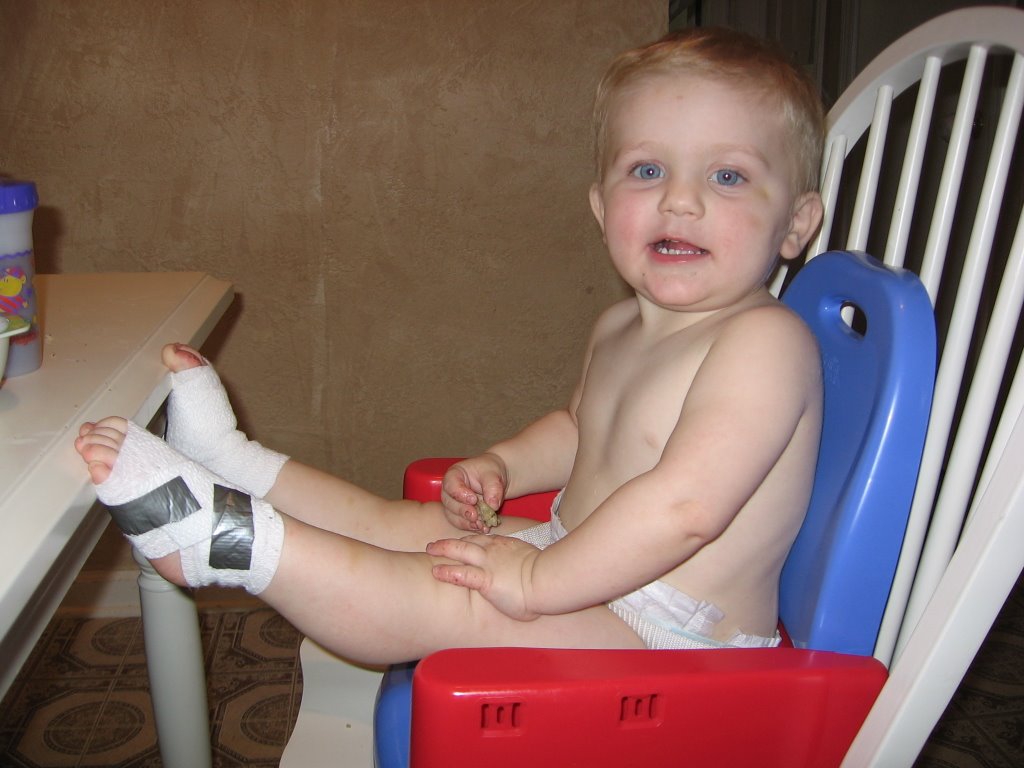 7. Darwin leaving his foot binding on (bad allergies + baby who scratches a lot = really yucky, torn-up feet).
 8. Drinking real lemonade.
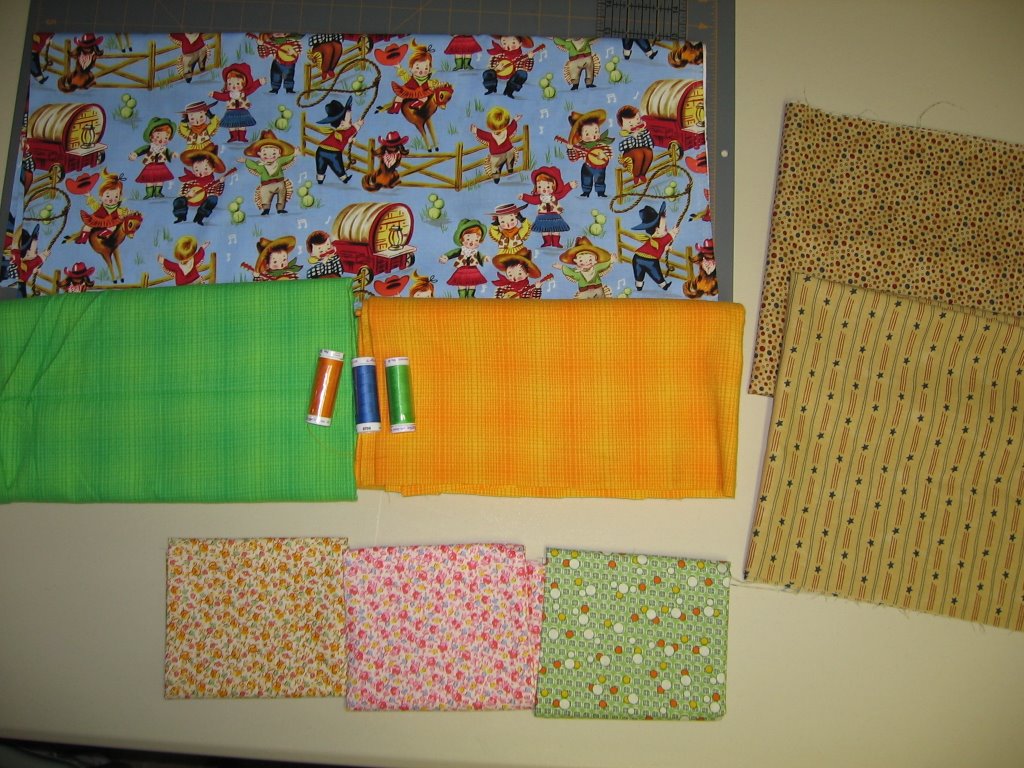 9. Fresh-from-the-store fabrics.
 10. Woolloomooloo chocolate bar (usually I'm a dark chocolate person, but this bar rocks).